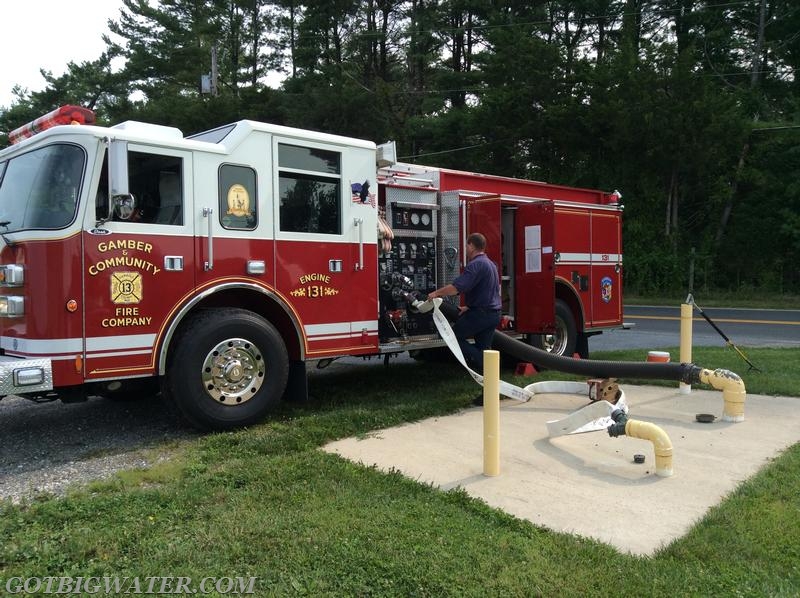
Most all repair work begins with a testing and inspecting process to determine the problem. A pumper was used to "pull a draft" in an attempt to locate the air leak. A leak was found on the suction head itself.
|
|
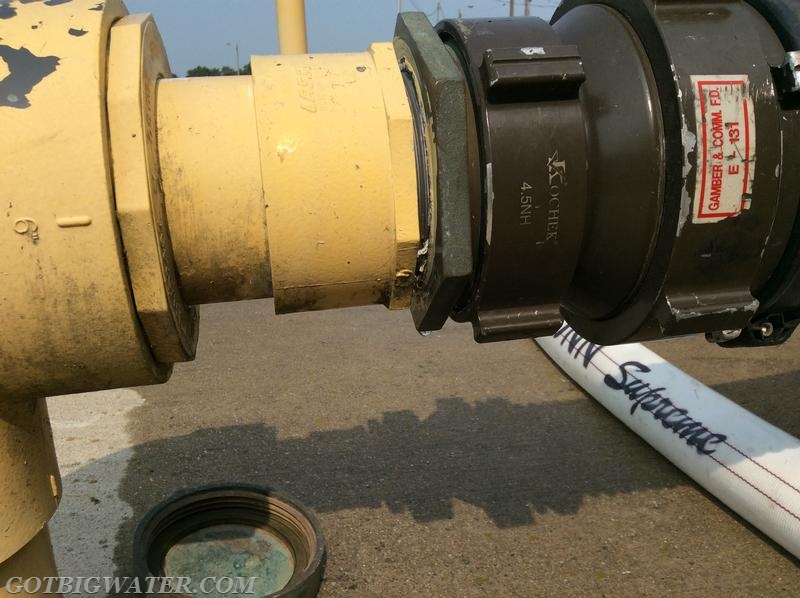
Water was observed dripping from the area where the metal 4-1/2-inch fitting threaded into the plastic pipe fitting. It is not uncommon for this type of air leak to occur on these type of set-ups. The weight of the water in the suction hose plus the bell reducer all create a huge, downward "leverage" force that stresses the materials.
|
|
| |
When installed many years ago, the 4-1/2" suction fitting was the standard on these underground storage tanks - yet few companies used 4-1/2" suction hose. Today's pumpers most all use 6" suction hose - the changeover to that size suction head increases the size of the opening and eliminates the need for a bell reducer.
|
|
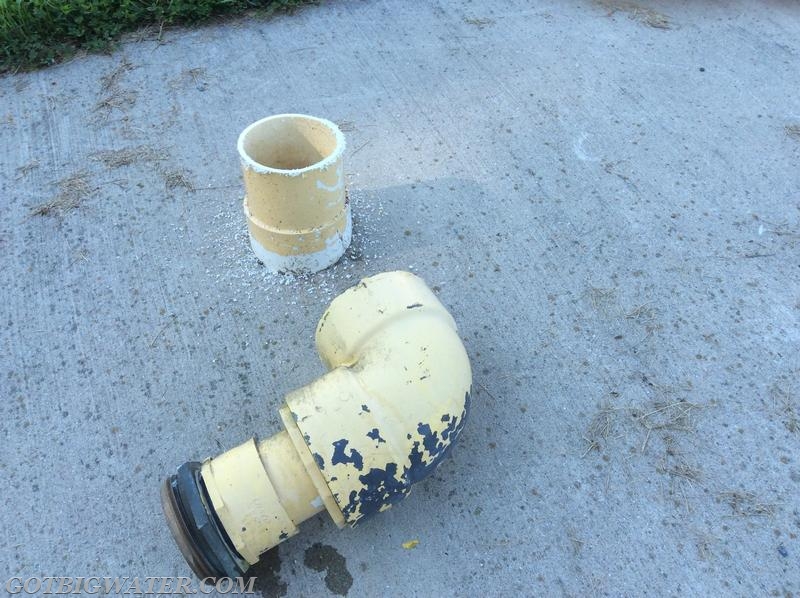
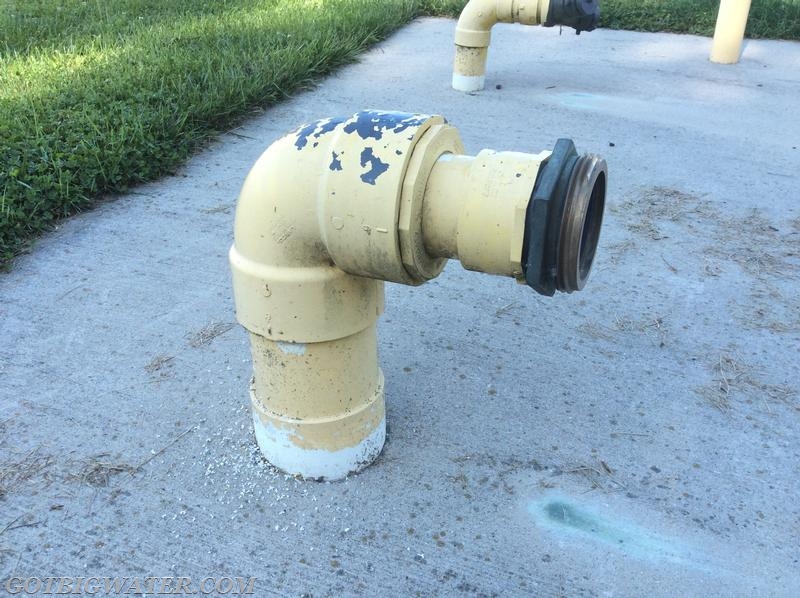
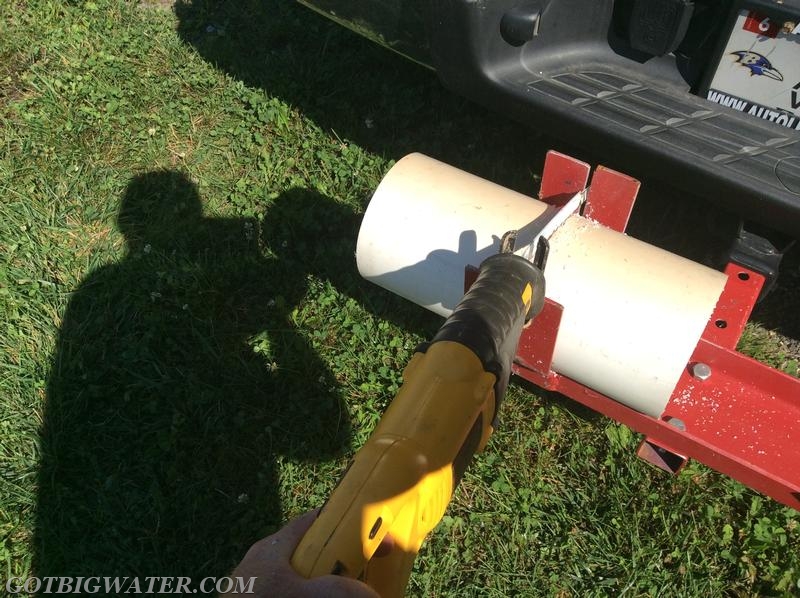
Since the suction head and elbow were not re-usable, the PVC pipe was cut using a reciprocating saw (with an all-purpose 10-inch blade) at the bottom of the elbow.
|
|
| |
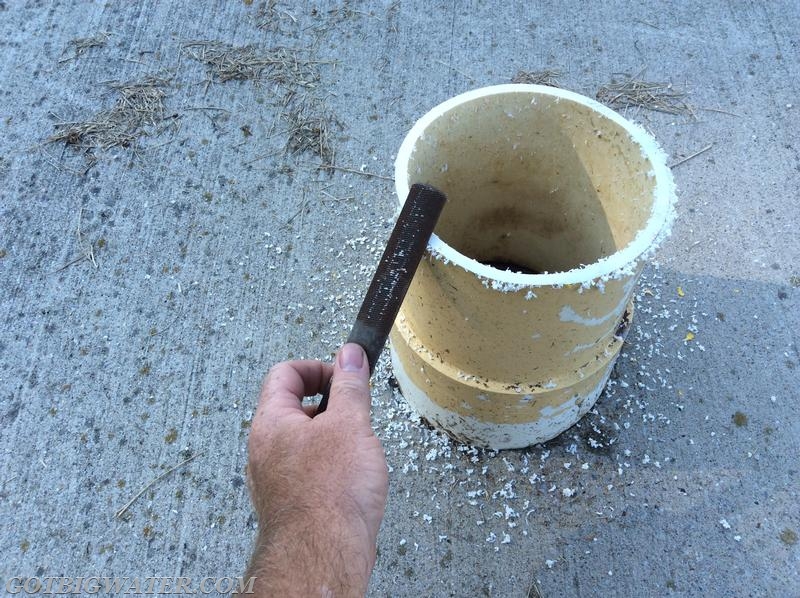
A rasp was then used to remove the burrs left behind by the saw.
|
|
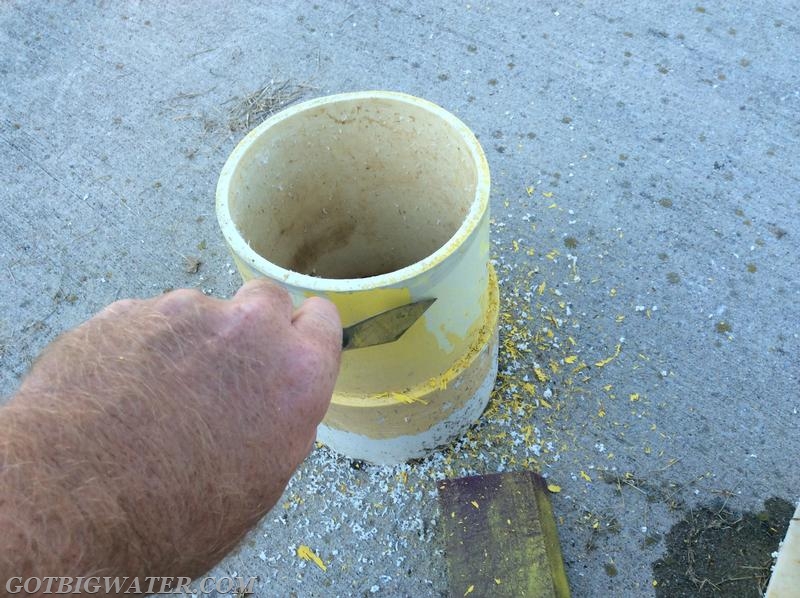
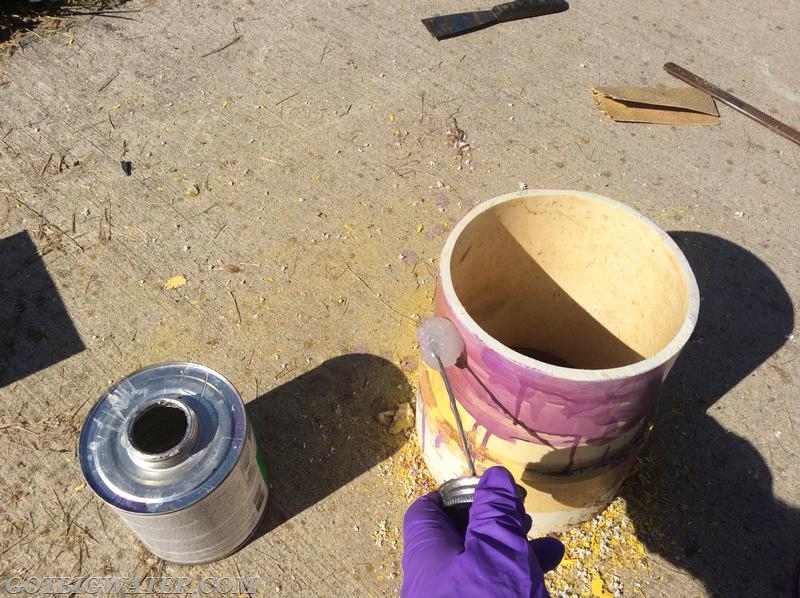
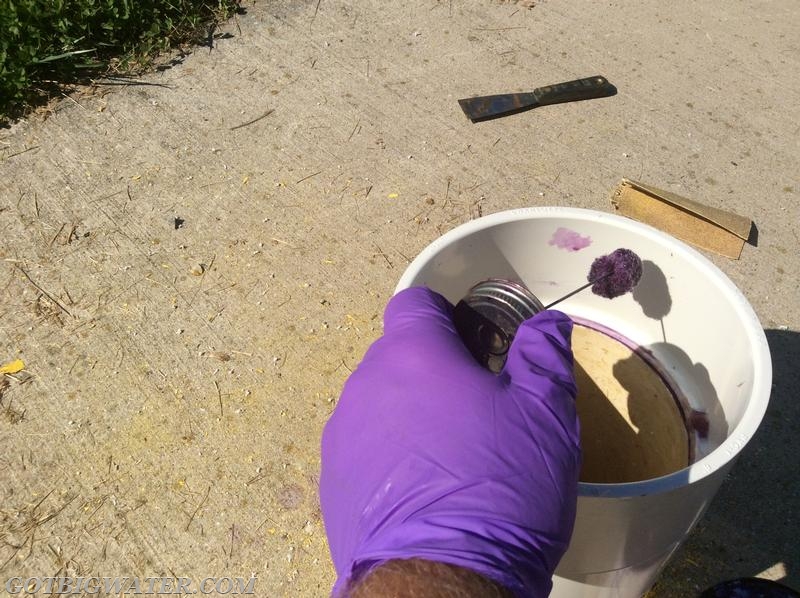
Since PVC glue does not work "so well" when the pipe is painted, the existing paint had to be removed before any thought of gluing could occur. Fortunately, most of the paint scraped off easily with a small putty knife. Some 150-grit sand paper finished the work.
|
|
| |
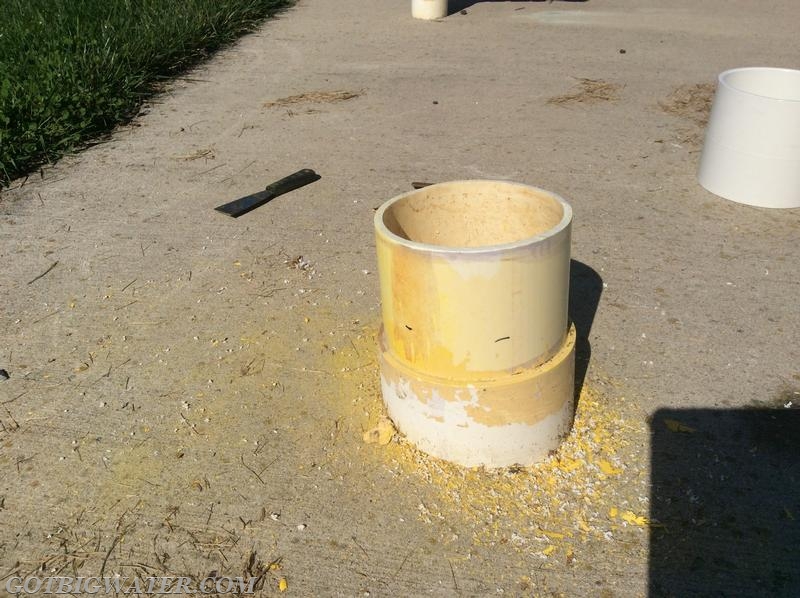
The existing suction pipe is free of paint and ready for the next step.
|
|
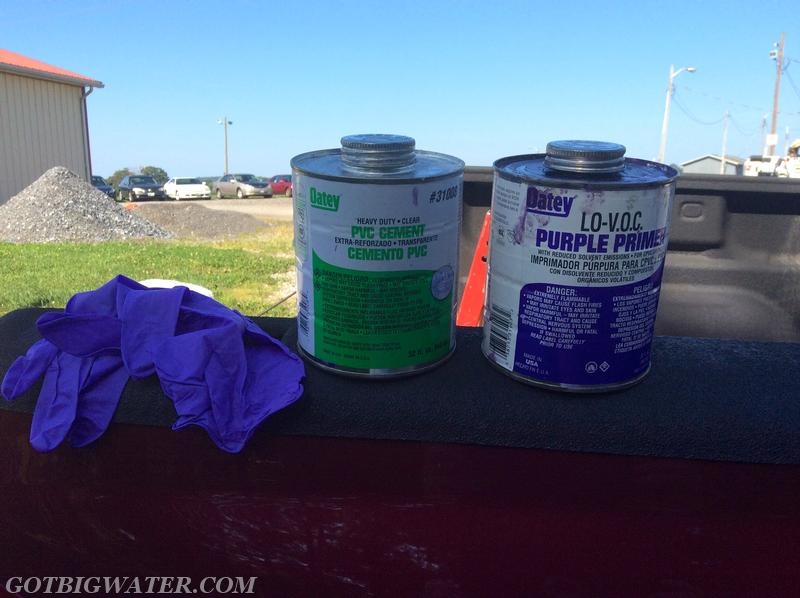
When working with PVC dry fire hydrant components, it is important to use good quality, heavy duty cement (glue).
|
|
| |
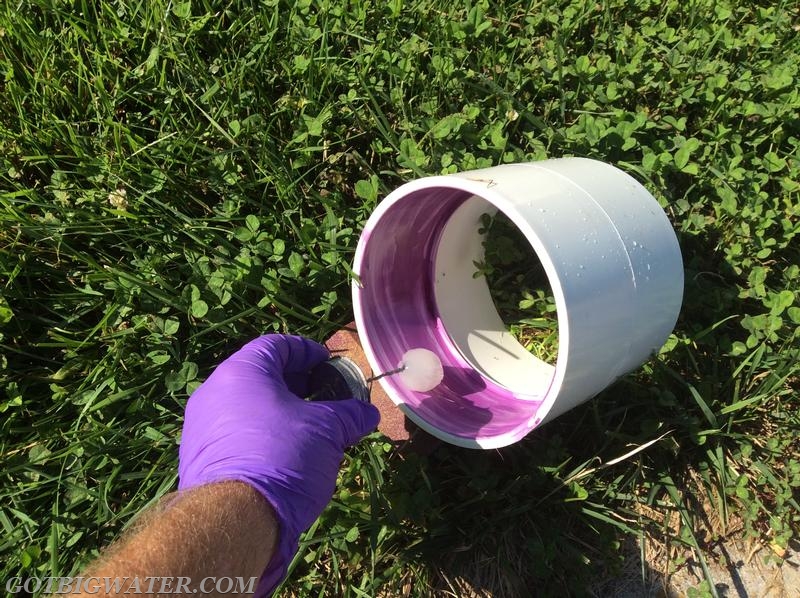
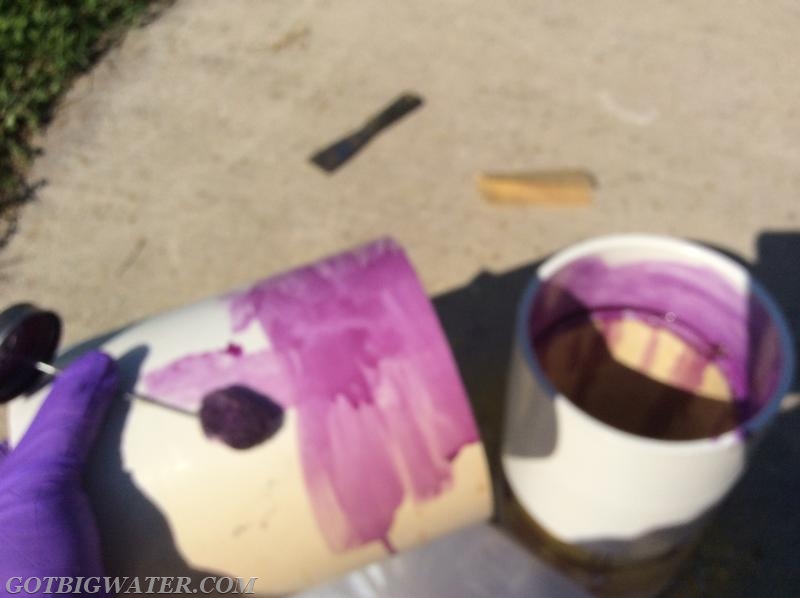
Because the repair also included raising the level of the suction head a bit, a coupling and short length of additional pipe were needed. Apply the primer first - be sure to cover all surface area where final contact will be made.
|
|
Apply primer to the pipe and then apply cement to the coupling and the pipe. For 6" slip-joint style fittings, the overlap will be 3 inches. So apply primer and cement accordingly.
|
|
| |

As soon as that last bit of cement is applied, move immediately to assemble the fitting. Use steady, firm pressure and hold for about 30-seconds. Be careful, there is very little opportunity for any adjustment once you start to assemble the fittings. And...the warmer the weather, the quicker the cement will "set up."
|
|
With the cement on the coupling now drying, the next step was to cut a short length of 6" PVC pipe in order to connect the coupling and the suction head elbow. While a "perfectly" straight cut is not needed - try to get as close as possible.
|
|
| |
Same program - apply primer first.
|
|
Apply an ample amount of cement to both surfaces - the pipe and the coupling. When you apply a sufficient quantity of cement, it actually helps make the pipe slide easier into the coupling.
|
|
| |

Same deal again...apply steady, firm pressure and hold for about 30 seconds.
|
|
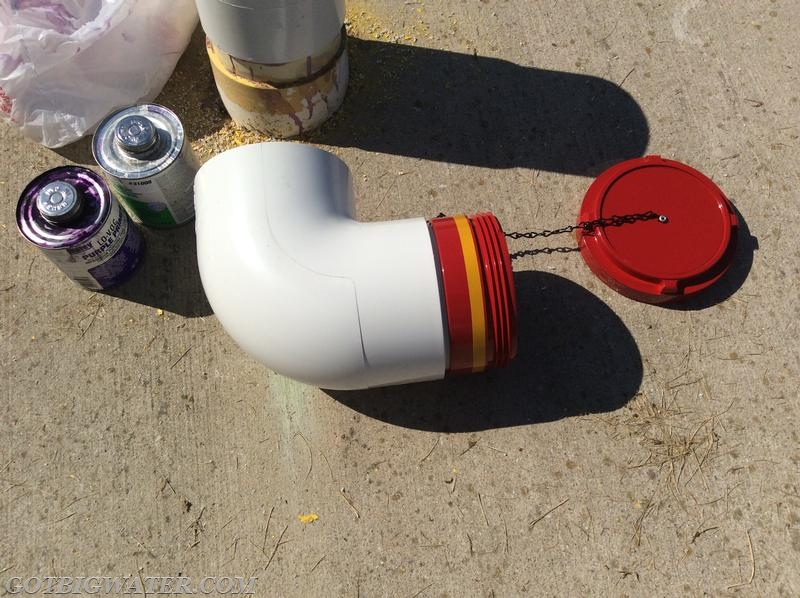
Now it was time to glue on the suction head. For this project we used a Kochek DHM611 suction head which is a 6" NST male on a 90-degree elbow with a slip-joint style fitting.
|
|
| |
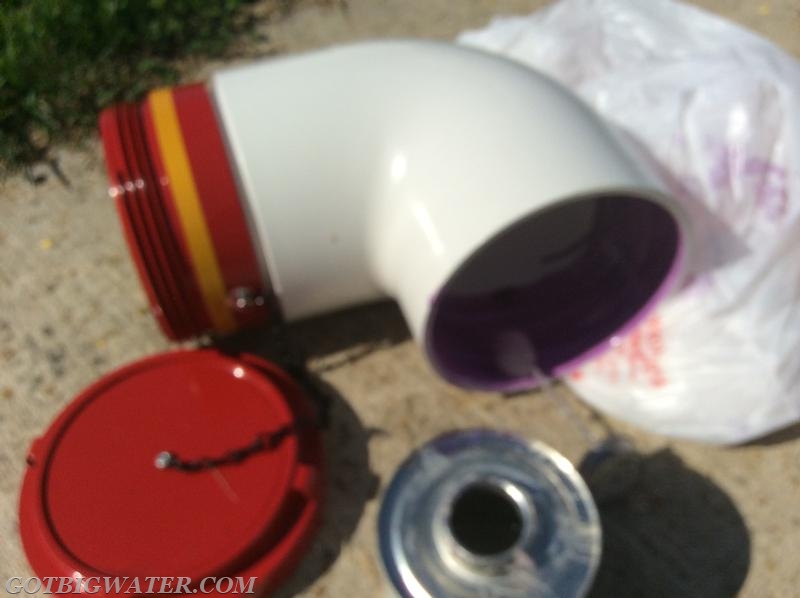
Same deal again, apply primer first to both connections - then apply cement.
|
|
Be absolutely sure that you know which way you want the suction head to face BEFORE you begin slipping it on. Once the two cemented surfaces make contact with each other, there will only be but perhaps 1 or 2 seconds to make an adjustment. Also - be sure to remove the suction head cap BEFORE you begin pushing the head down onto the pipe. If the cap is left on, air pressure will build up and "fight you back" as you try to push the head down onto the pipe before the cement sets up.
|
|
| |
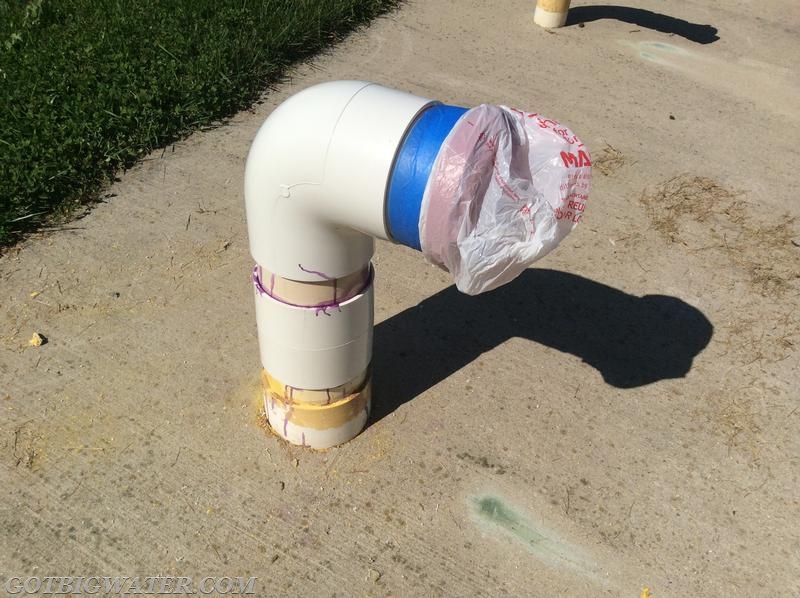
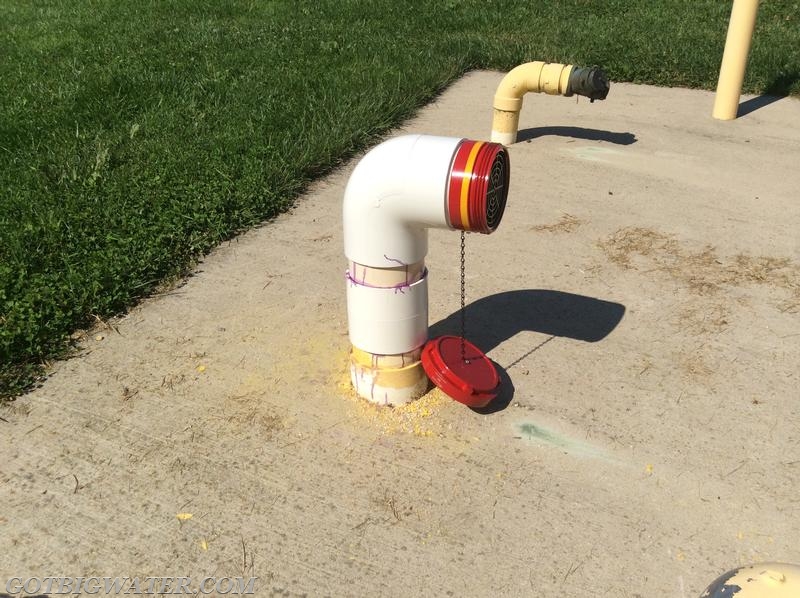
With everything glued, now it is time to paint the exposed PVC pipe.
|
|
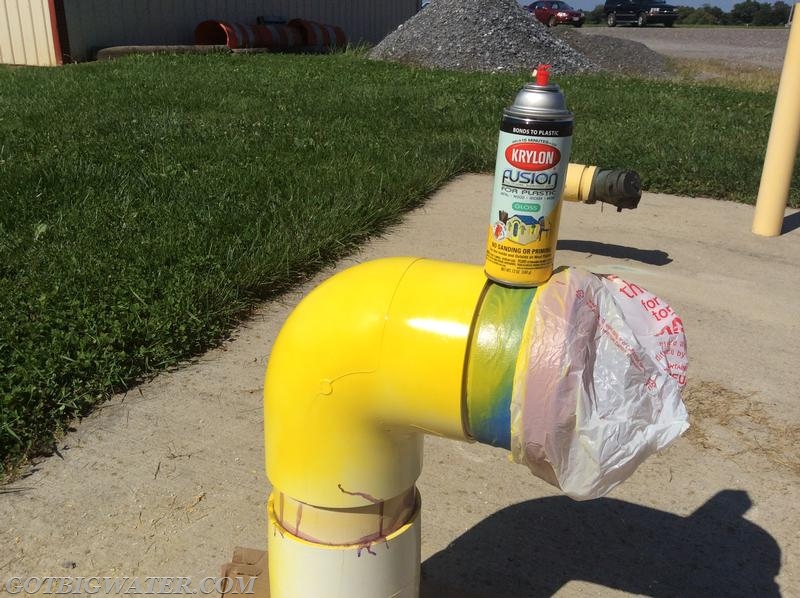
It is best to use a spray paint specifically designed for use on outdoor plastics. Krylon's Fusion spray paint is a reliable product.
|
|
| |
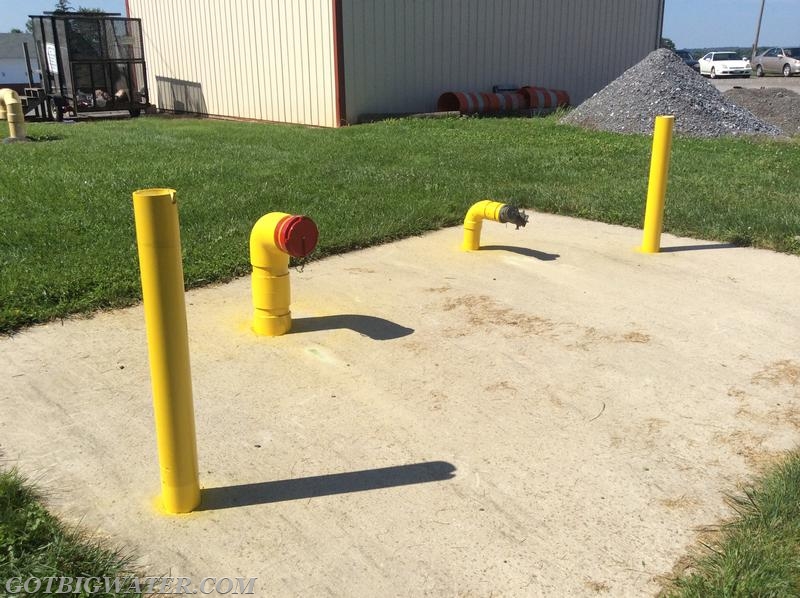
The finished product - in 24-hours - time for a flow test and final inspection.
|
|
| |